

Wallpaper Blues? How to Repair Torn Drywall Before Re-Hanging That Bold Mural
You peeled off gram-gram’s paisley paper in her Wayzata condo and now stare at fuzzy brown drywall wounds. After slapping the joint compound straight onto the substrate, you’re noticing a few days onwards that it’s begun blistering like cheese curds in hot oil. “This is normal,” you nervously try to reassure her – and yourself.
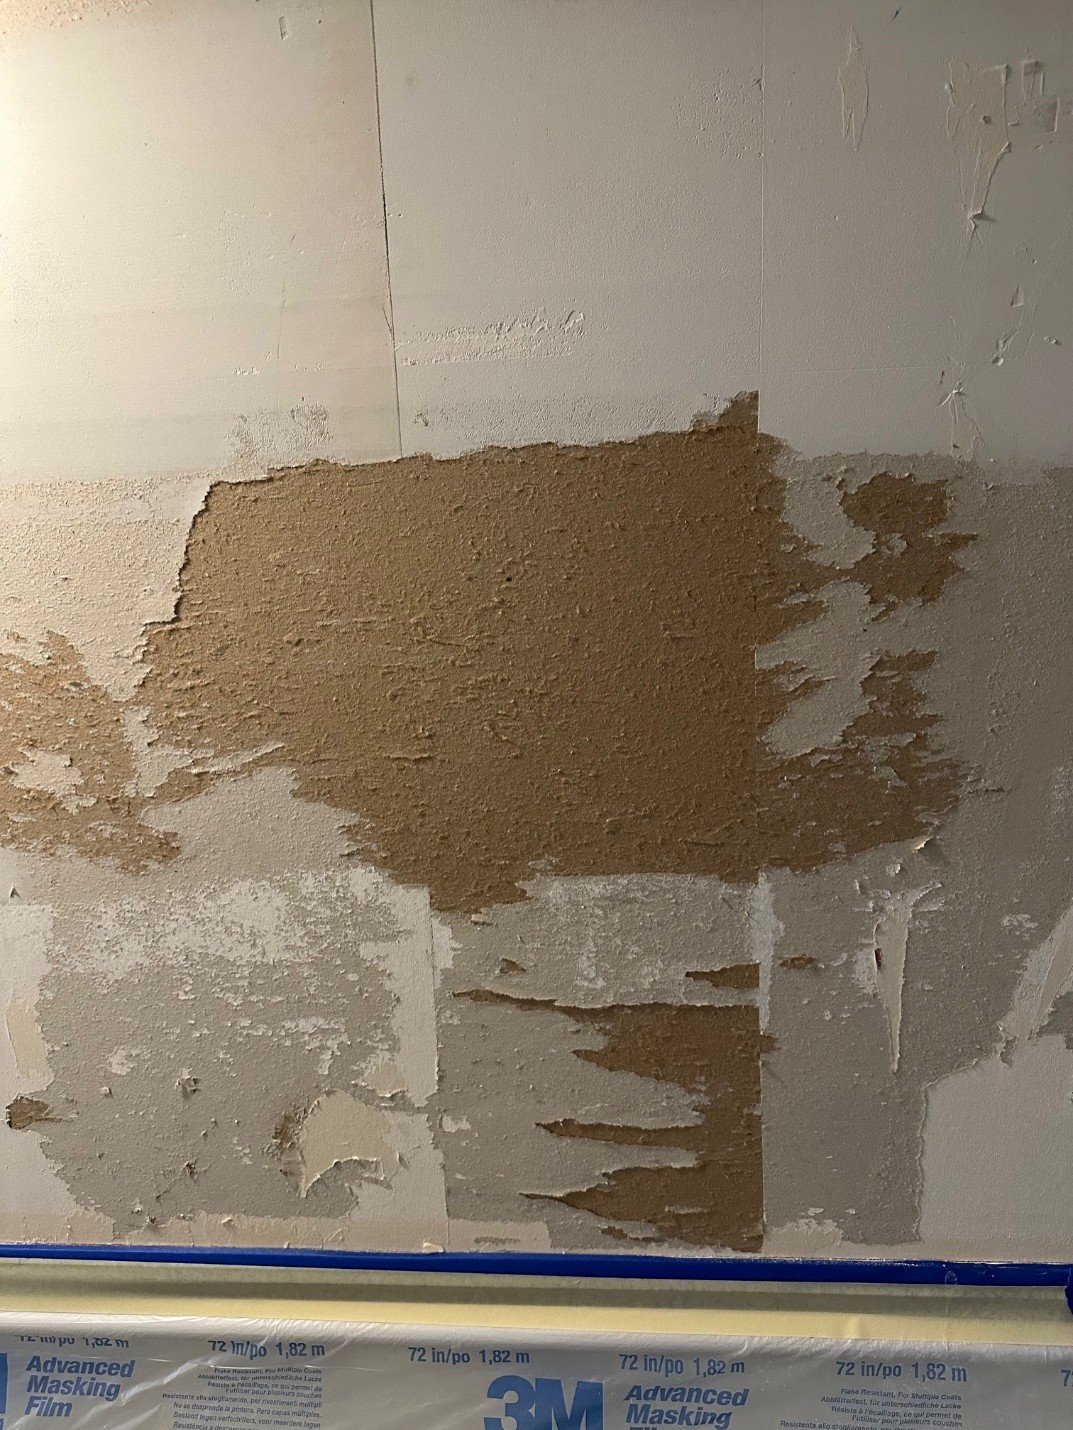
To begin the rescue process, start by cleaning and shaving down the fuzzy brown surface to remove any loose paper and sand it with 100- to 120-grit sandpaper. Next, seal the damaged area by applying a shellac or acrylic sealer, such as Zinsser® BIN or Gardz, or a latex-based drywall conditioner, which will help secure fibers and adhesive – this step is crucial and often overlooked by homeowners and less experienced pros. Third, skim the area with a setting-type joint compound by mixing Easy Sand 20 or 45 and applying two thin coats with a 10-inch knife, making sure to sand lightly between each coat (something between 150- and 200-grit should be fine for this step). Once that’s complete, prime the surface again using a high-build Polyvinyl Acetate (PVA) primer to cover any ridges and ensure even bonding.
When to Call Twin Cities Home Pros
We followed the steps above to help a client overseeing one of the largest elderly care facilities in the Twin Cities completely transform the space for her residents and colleagues – replacing a dated wallpaper aesthetic with a look that’s both modern and timeless.

While the project involved removing two layers of wallpaper, underlying damaged drywall substrate and vast spaces, the end result – smiling residents and a satisfied client – well worth the effort!