

Evict Your Rotting Trim Before It Turns Structural
If you’ve noticed a mushy windowsill or soft, splintering trim on your garage door, you’re not alone. Minnesota’s wild weather – snow in April, monsoons in June and humidity that gives us dewy skin when we’re not looking for it – creates the perfect storm for wood rot. Wood-decay fungi thrive when moisture content creeps above 20%, and once they get a foothold, that rot can spread faster than fans leaving a preseason Vikings game.
How Does Trim Rot Happen?
Rot isn’t just a cosmetic issue. Left unchecked, it can compromise the structural integrity of your exterior envelope, leading to expensive repairs and even interior water damage. Here’s how the usual suspects work their mischief:
Peeling Paint & Failed Caulk: When paint peels or caulk cracks, it exposes the vulnerable end-grain of trim boards to rain and snowmelt. Water seeps in, and fungi move in for a feast.
Poor Ventilation: Soffits stuffed with insulation or blocked vents trap moisture in the eaves, turning fascia and rafter tails into a soggy mess.
Grade Issues: Landscaping mulch or soil piled against skirt boards keeps them perpetually damp, creating a fungus-friendly microclimate right at your foundation.
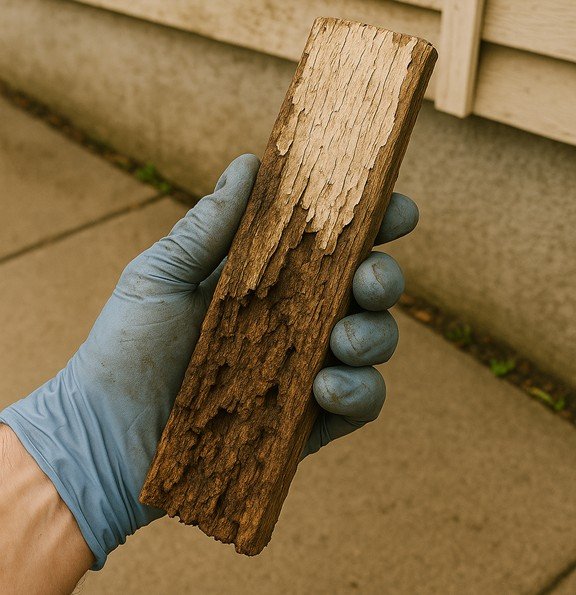
Signs Your Trim Is in Trouble:
Soft, spongy spots that cave under light pressure
Paint that bubbles or flakes off in sheets
Visible fungal growth or dark discoloration
Gaps opening between trim and siding
Insect activity – carpenter ants love decayed wood
If you spot any of these, don’t wait! Rot spreads quickly, especially during the spring and fall.
Our Step-by-Step Repair Playbook
Let’s break down how our pros would tackle rotting exterior trim, using the right technical approach for lasting results:
1. Probe & Mark
Start by probing suspect areas with a flathead screwdriver or awl. If your tool sinks in more than 1/4", that section is toast and needs to go. Mark all soft spots for removal.
2. Excise Decay
Using a multi-tool or oscillating saw, carefully cut out all compromised wood until you reach bright, solid material. Don’t be lazy and leave punky fibers behind as rot will just keep spreading.
3. Consolidate & Fill
Saturate the edges of the remaining wood with a liquid wood hardener to stabilize and seal the surface. For small to medium repairs, rebuild missing profiles using a two-part epoxy filler rated for Minnesota’s freeze-thaw cycles (down to -20°F). Shape and sand once cured to match the original profile.
4. Prime, Back-Caulk and Paint
Apply a high-solids, stain-blocking primer to all bare wood and epoxy repairs. Back-caulk all seams with a high-performance, flexible (“elastomeric”) sealant (we like Titebond WeatherMaster, DAP Extreme Stretch Acrylic Urethane and OSI Quad Max, though the latter is not paintable) to prevent future water intrusion. Finish with two coats of premium exterior acrylic paint, which is formulated to flex with our wild temperature swings and resist UV degradation.
5. Future-Proof Your Trim
Install drip-edge flashings above vulnerable trim to direct water away.
Adjust sprinklers to avoid soaking exterior woodwork.
Schedule a spring inspection to catch minor issues before they become a major headache.
When to Replace Instead of Repair
If rot is widespread or you’re tired of the annual maintenance grind, consider upgrading to PVC or fiber-cement trim. These materials—like Azek® or James Hardie®—are impervious to moisture, insects, and fungi. We routinely install these for clients who want zero-maintenance curb appeal and peace of mind.
Real-World Example from Twin Cities Home Pros
Last summer, our team helped a homeowner in Edina with cedar trim that had turned to sponge after years of splash-back and failed caulk. After removing all decayed sections, we replaced them with cellular PVC, back-primed every cut, and flashed all horizontal joints. The result? Crisp, clean lines that may very possibly outlast several more generations worth of Minnesota weather.

Whether you’re dealing with a single soft spot or a full-blown rot invasion, prompt repairs will protect your investment and keep your home looking sharp for years to come. If you’re not sure how deep the damage goes, or want a quote for an upgrade that will give you and your home peace of mind, reach out to our team at Twin Cities Home Pros for a thorough evaluation and expert craftsmanship.